|
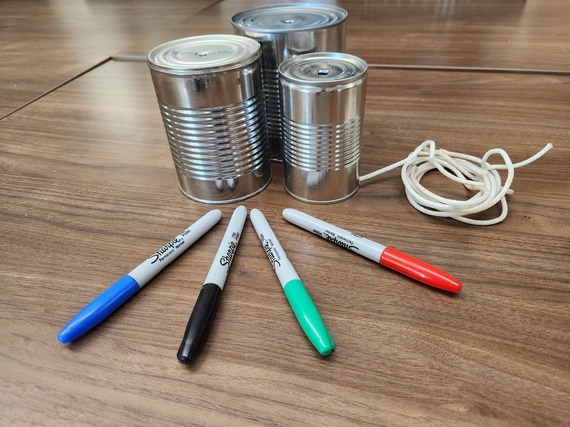
Step 1) Gather your materials.
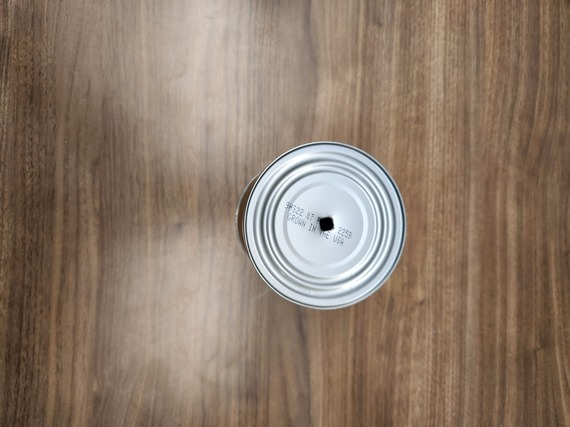
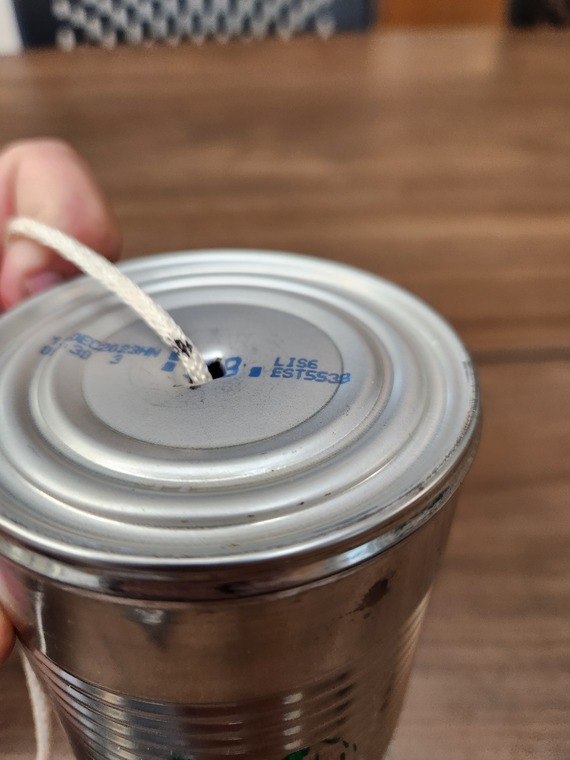
 Step 2) Use the hammer and screwdriver to punch a hole in the center of the bottom of each can.
 Step 3) Start building your ecosystem with the smallest can. First, design the aquatic habitat. Remember to include any animals that live there. Leave about 1 inch of blank space at the top to allow for overlap.
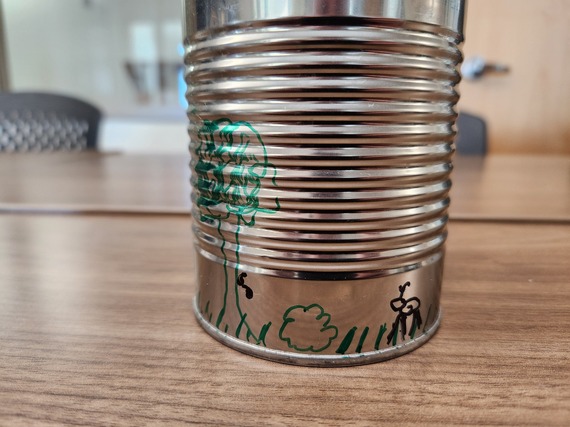
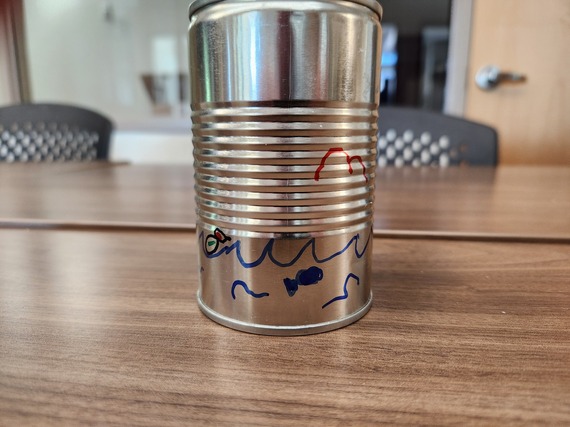 Step 4) Next, move to the middle sized can. This can will be our terrestrial or land habitat. Again, leave about 1 inch of blank space at the top to leave room for overlap.
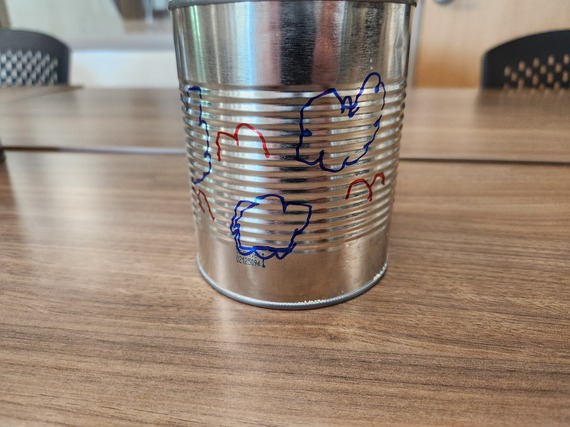
 Step 5) Finally, move to the largest can. This will be our aerial or sky habitat. There is no need to leave space as this entire can will be visible.
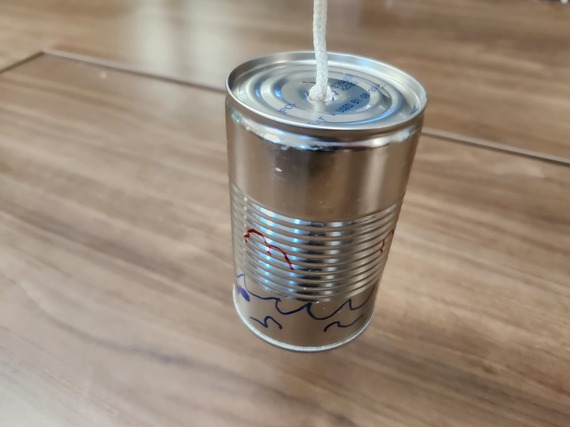
 Step 6) Now, it’s time to combine all the sections. Tie a knot at the end of your string and slide your smallest can to the end.
 Step 7) Slide your medium can so that it overlaps your smallest can by about an inch. Mark that spot on the cord and tie a knot there.
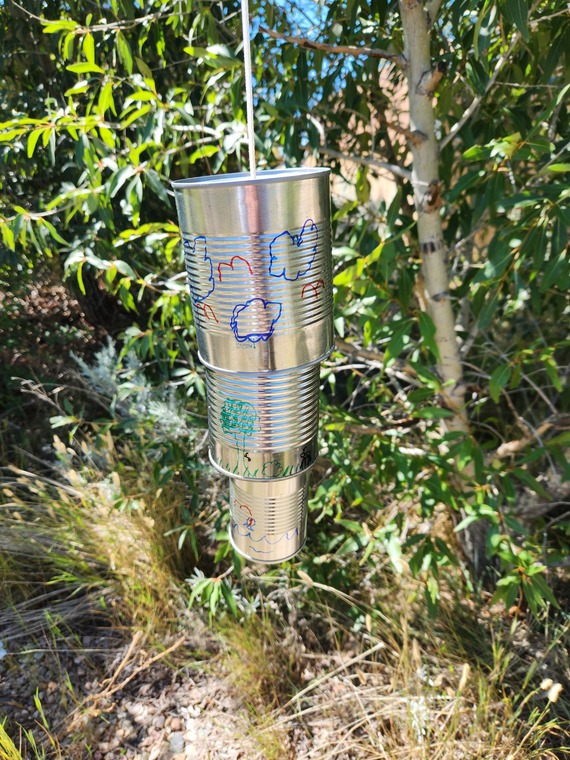
 Step 8) Finally, repeat step 7 with the largest can. Then attach the free end of the cord to whatever you will hang your chimes from. Enjoy your completed ecosystem!
|