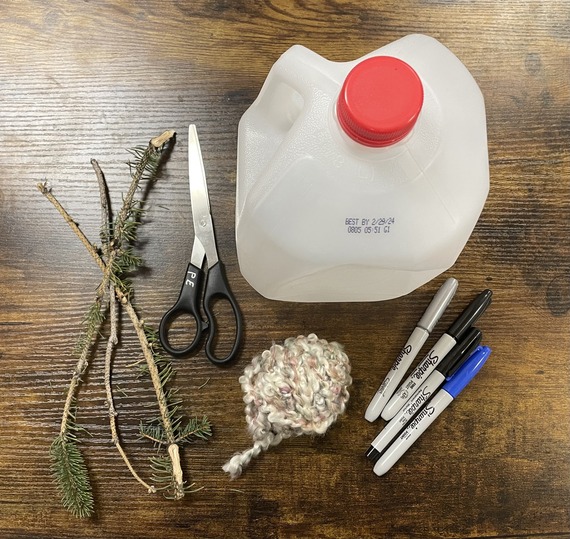
 1) Gather all of your materials.?
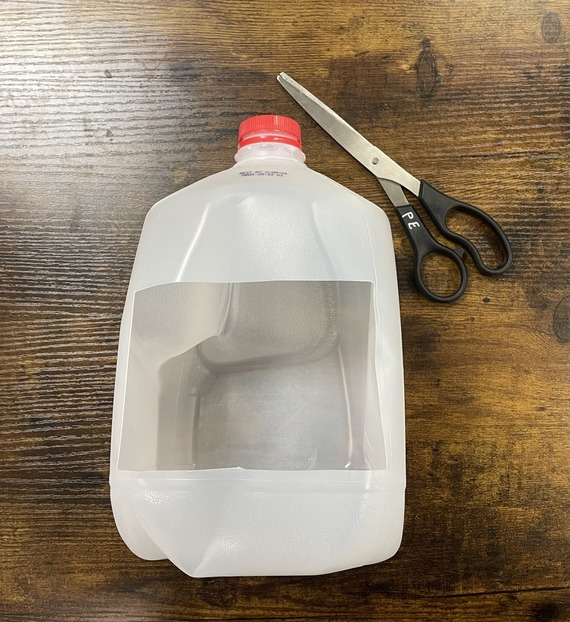 2) On one side of the milk jug, cut a large square.?
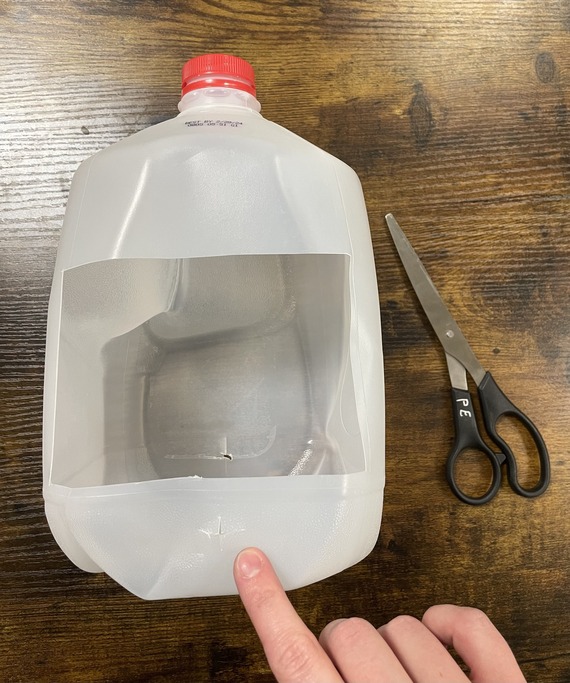 3) Cut a slit directly below the opening and a another on the opposite side of the jug.?
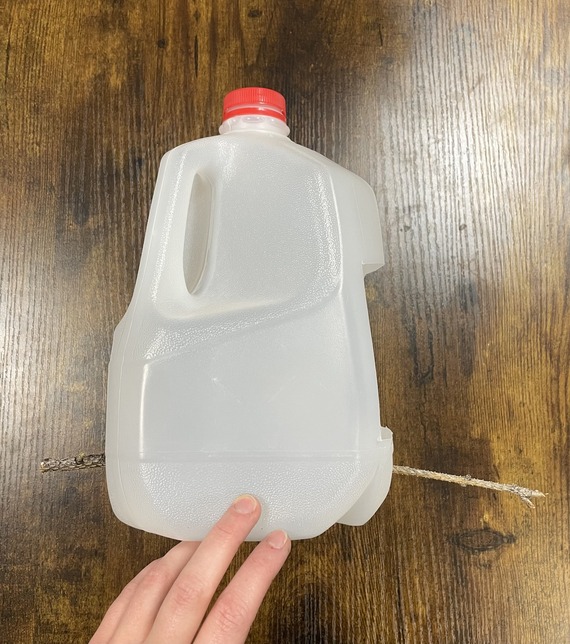 4) Push a twig through the slit closest to the large opening. Then, slowly guide it through the second slit on the opposite end of the jug. A tag end of your twig should extend past the width of the milk jug, so birds can sit on top while eating the food inside the feeder.?
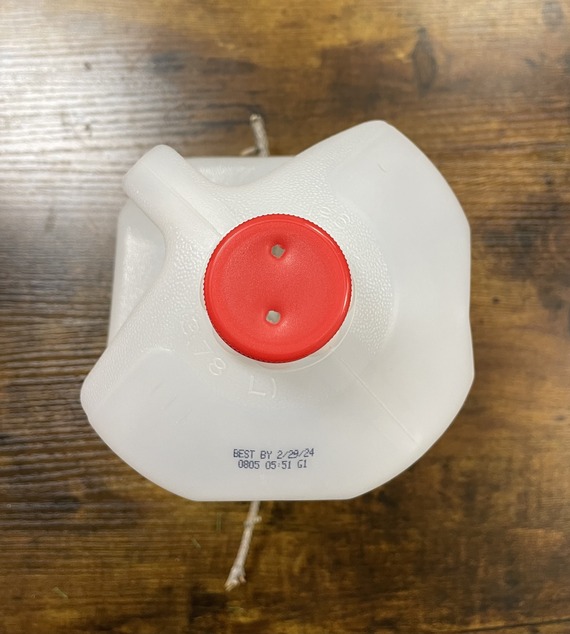 5) Cut two holes through the cap of the milk jug.?
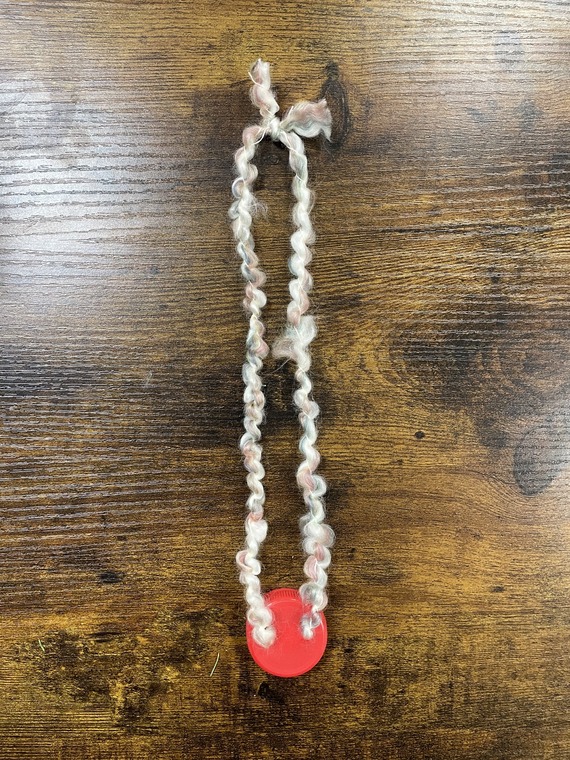 6) Slide your cord, twine or yarn through both holes in the cap and tie a knot with the tag-ends.
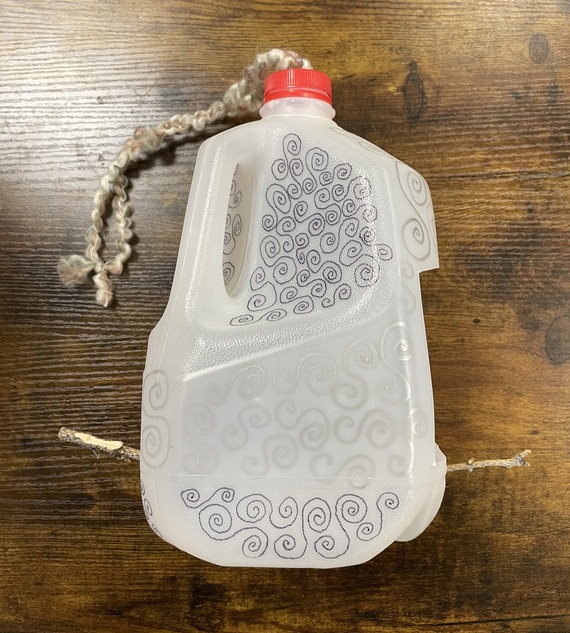 7) Decorate the outside of your milk jug birdfeeder with permanent markers or stickers, if you would like.?
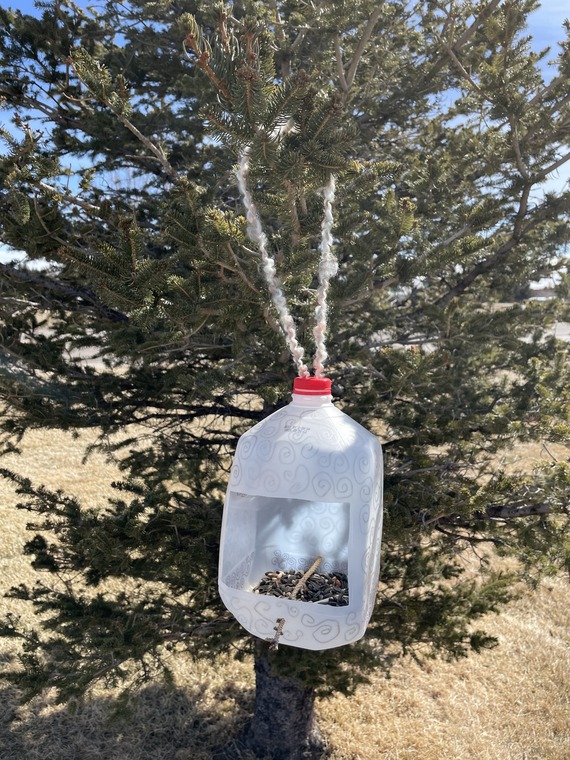 8) Fill the inside of your birdfeeder with delicious birdseed and hang it on a tree or bush near your home. Observe the birds that take advantage of their new food source!
Show us your bird feeder!
|